How to create a monitor
To create a new monitor, you will need an Odown account, which you can make from the new Odown account registration page if you don't already have one.
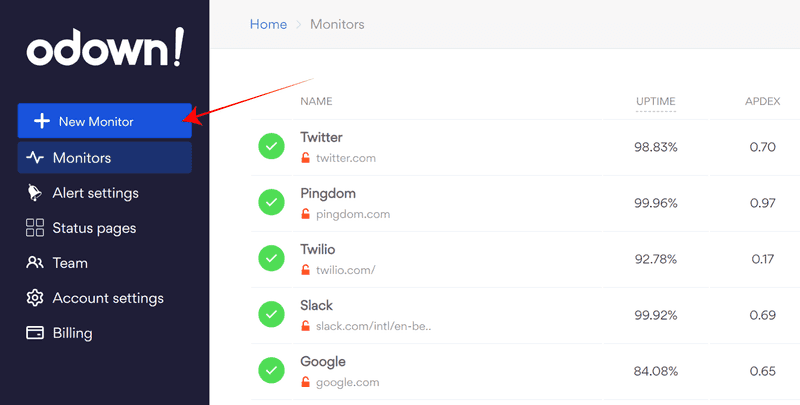
After logging into the Odown home dashboard, you can click on the large "New Monitor" button on the left.
This will open a form that lets you specify configuration options for your monitor, like its name, URL, or HTTP method (GET, POST, HEAD...).
Choose an HTTP method
GET and HEAD are the most common methods to perform HTTP pings. HEAD requests are often enough because Odown performs TTFB (Time To First Byte) checks, which only reads the response headers independently from the response body.
- GET: The GET method is used to retrieve information. GET methods are said to be safe methods as these requests do not change the resource state.
- HEAD: Same as GET, except that the server does not return a message-body in the response.
- POST: The POST request is used to send data to the server. The response should have a response code 201 (Created).
- PUT: The PUT method is primarily used to update an existing resource.
- DELETE: The DELETE method, as the name applies, is used to delete resources.
- PATCH: The PATCH method is used to make a partial update on a resource. PUT should only be used if you’re replacing a resource in its entirety.
Specify request Body and Headers (optional)
The most popular requests Headers are:
- Authorization: Carries credentials containing the client's authentication information for the resource being requested.
- Content-Type: Indicates the media type (text/HTML or text/JSON) of the response sent to the client by the server. This will help the client in processing the response body correctly.
Finalize and save
You can now click on the "Save New Monitor" button, which will redirect you to the detailed view, which includes metrics and graphs about your monitor.
Choose datacenter regions
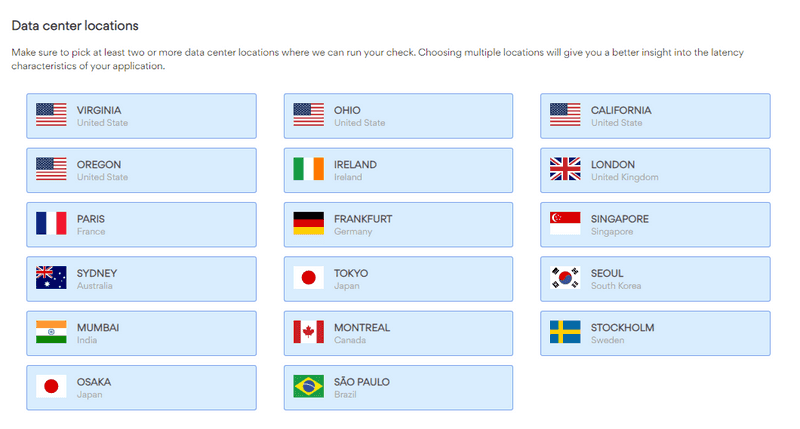
By default, a monitor is set with all available locations. You can edit at anytime the selection after you created the monitor in its Locations tab.
You need to have at least one selected region, and you can select all of them if you need to. Here is the list of all available regions.

